The Robot View
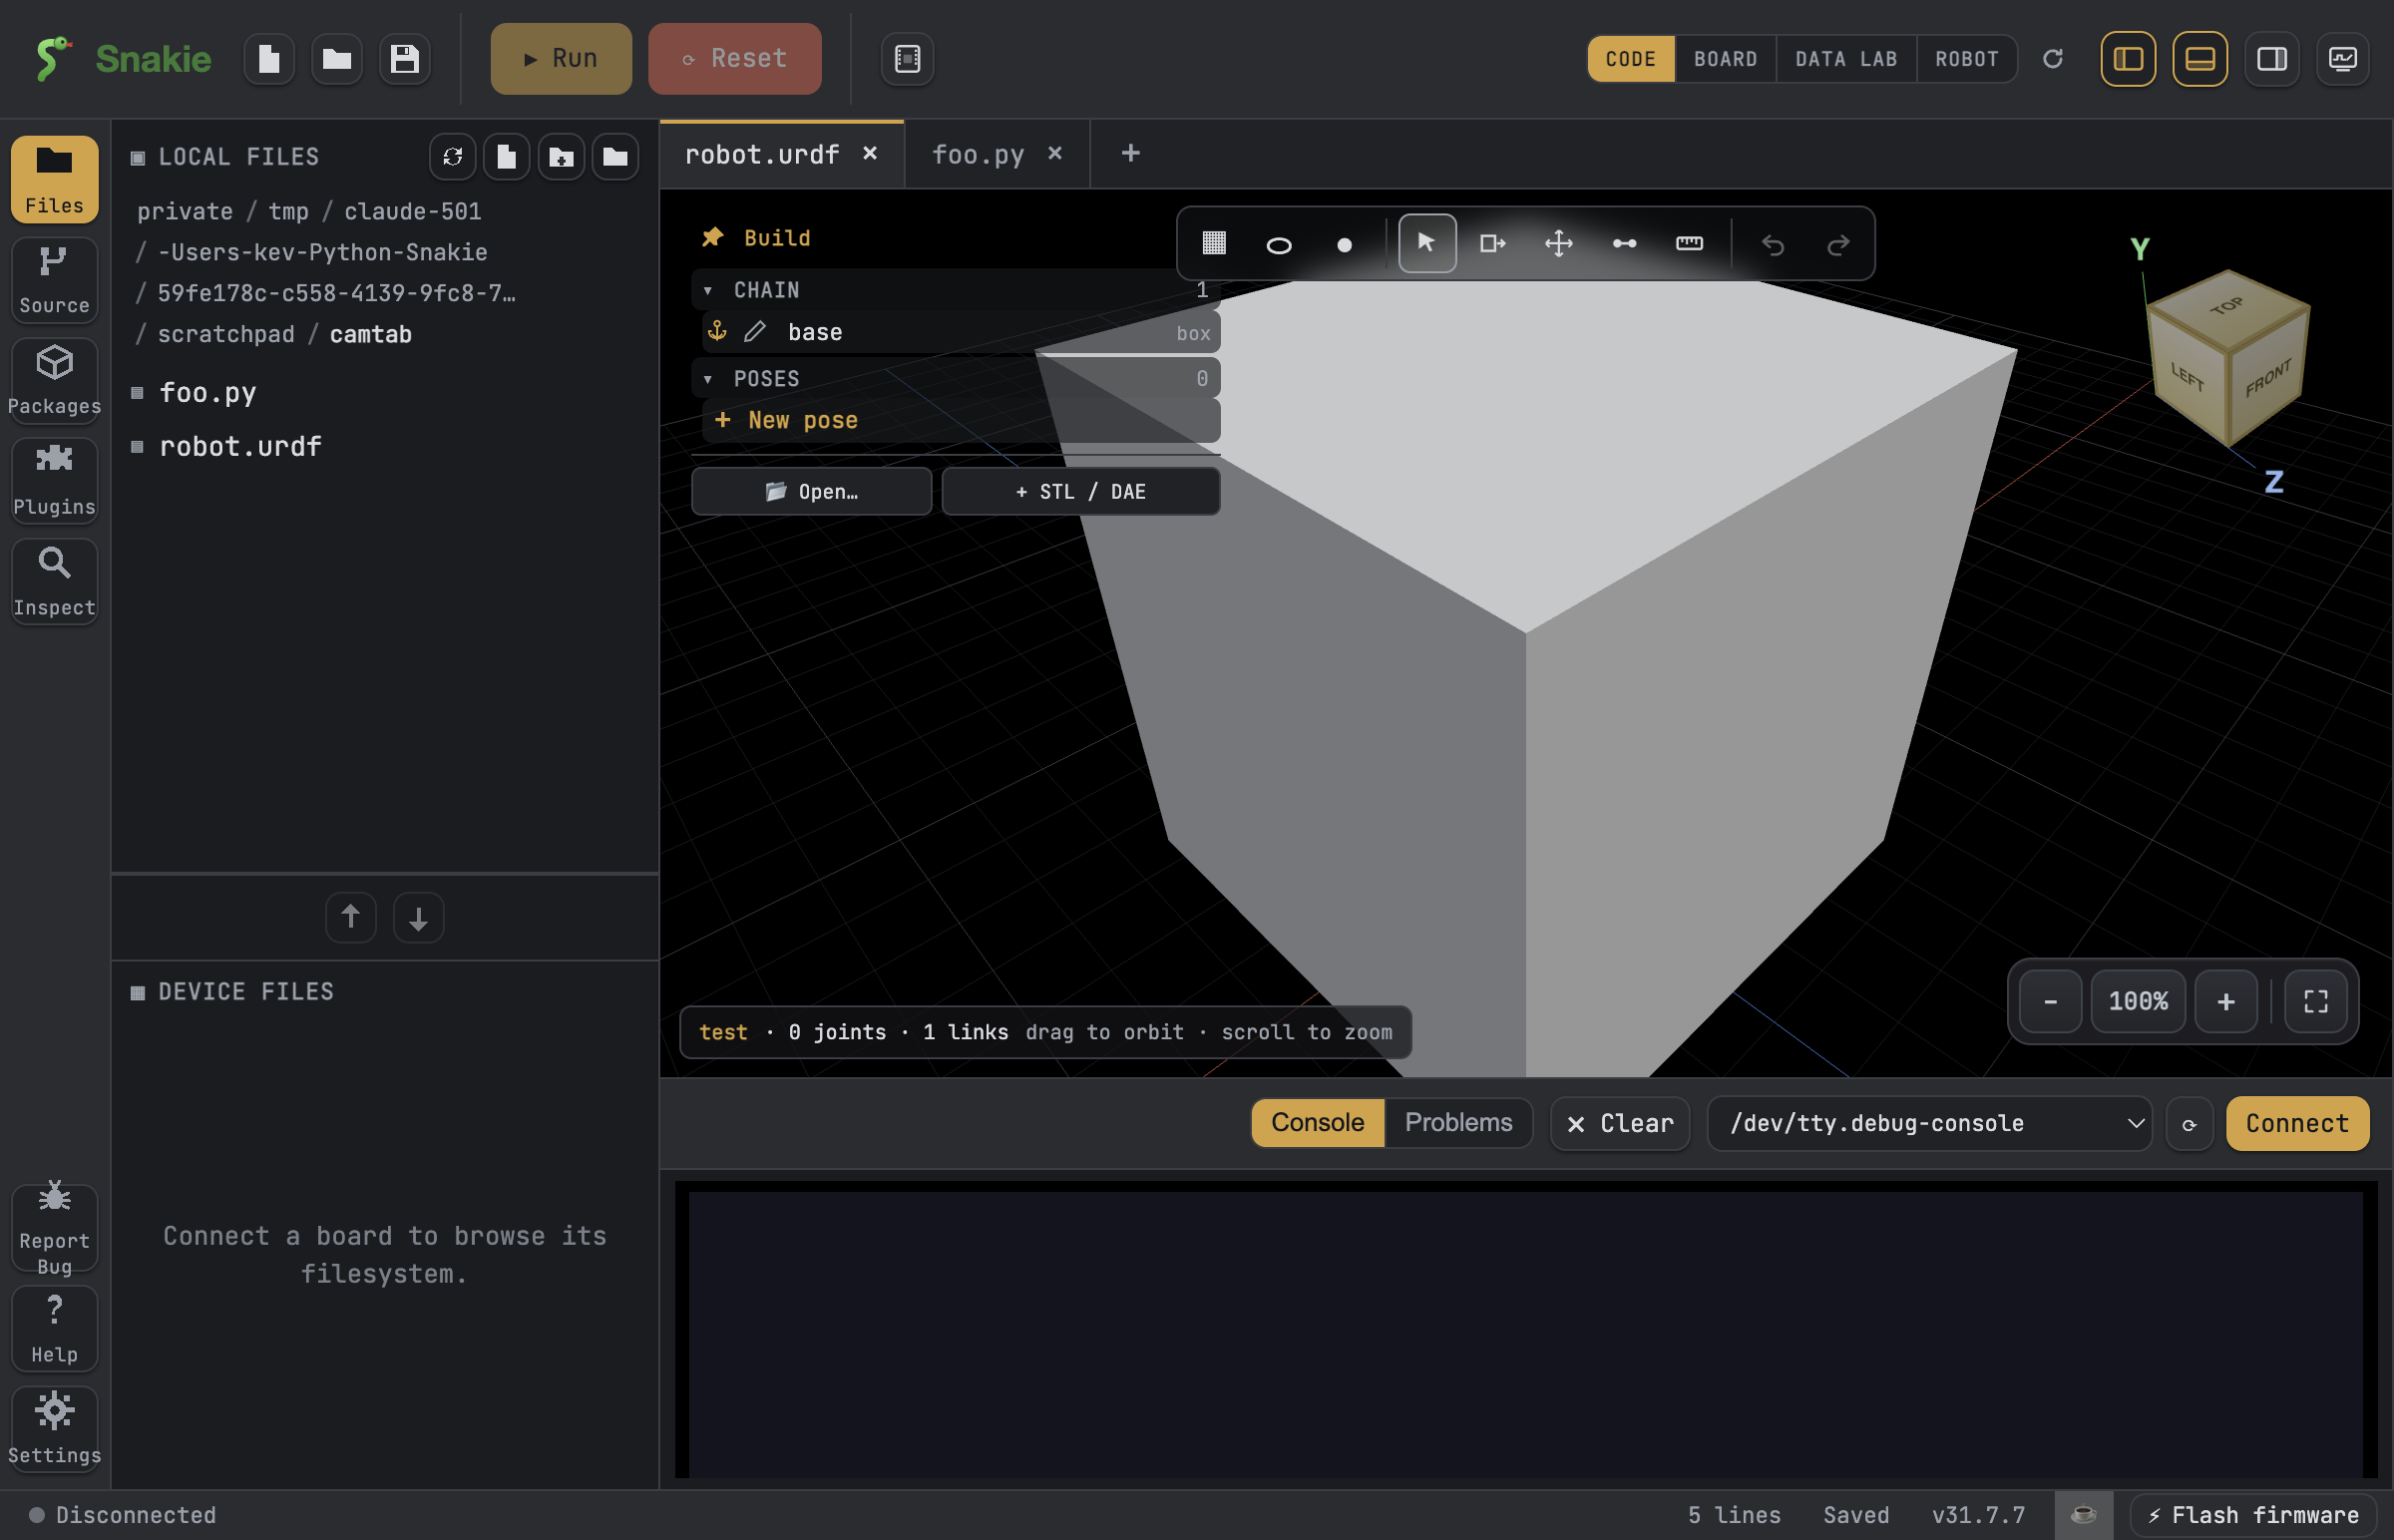
The Robot View is a 3-D space where you can build, join, and pose a robot. This page explains the ideas behind it, so the buttons make sense when you start building.
What a robot really is
To a computer, a robot is not one solid shape. It is a set of rigid parts joined together — like a skeleton. The Robot View follows the same idea that real robotics engineers use, so what you learn here is real robotics, not a toy version.
Two words do most of the work:
- Link — one rigid part. A rigid part is a piece that does not bend on its own, like a wheel, an arm, or the robot's body.
- Joint — the connection between two links. A joint says how one part is attached to another.
Put simply: links are the bones, and joints are the connections between them.
Joints: fixed or movable
Every joint has a type. The Robot View uses the standard robotics types:
| Joint type | What it does |
|---|---|
| Fixed | Glues two parts together. They never move apart. |
| Revolute | Rotates, but only between a low and high limit (like an elbow). |
| Continuous | Spins around freely with no limit (like a wheel). |
| Prismatic | Slides in and out in a straight line (like a drawer). |
A fixed joint is perfect for parts that are bolted on and should never move. A movable joint (revolute, continuous, or prismatic) is what lets a wheel spin or an arm bend.
Tip
Not sure yet? Start with fixed joints to get your shape right, then change the ones that need to move.
The base and the chain
Every robot has one starting part called the base (often named base_link). Think of it as the trunk of a family tree. Everything else hangs off it.
Each joint has a parent (the part it attaches to) and a child (the part being attached). This makes a chain of parents and children:
Why does this order matter? Because children move with their parent. If you turn the arm, the hand goes along for the ride — just like your real hand follows your arm. Building a good parent→child chain is how a robot moves the way you expect. If parts move in a strange way, the chain is usually the thing to check.
An indented Chain view shows this parent→child structure, and you can re-parent a part to fix its place in the tree. To learn the buttons for this, see the Robot View guide.
Meshes: giving parts a real shape
A link needs a shape you can see. You have two choices:
- Primitive blocks — simple boxes and shapes built right in the app.
- Meshes — detailed 3-D shapes from STL files. (An STL file is a common 3-D model file, the kind used for 3-D printing.)
STL meshes referenced by a robot live in a meshes/ folder next to the robot, so the files stay together. A part from the Parts Library can even carry its own mesh, which drops straight into the Robot View when you add that part to a design.
Poses: striking a shape
A pose is one saved position of all the movable joints — like a snapshot of your robot standing, waving, or crouching. You set a pose by dragging sliders, one per movable joint. Poses are great for testing whether your joints and limits actually work before you write any code.
How it is all stored: the URDF
The whole robot — every link, joint, mesh, and the parent→child tree — is saved in a standard file called a URDF (Unified Robot Description Format). URDF is the same format used across real robotics, so a robot you build in Snakie is described the way the wider robotics world describes robots.
For the exact file fields, see the robot file reference.
Where to go next
- Ready to build? Follow the first robot tutorial step by step.
- Want the tools and buttons explained? See the Robot View guide.
Note
Building a robot as a chain of parents and children is the single most important idea here. Get the chain right, and everything else — moving, posing, and coding — becomes much easier.