Build a robot in 3-D
The Robot View is a 3-D space where you can build a robot from simple blocks or your own 3-D shapes, join the pieces together, and pose them. This guide walks you through every task, step by step.
New here?
If this is your first robot, start with the First robot tutorial. This page is the deeper how-to. To understand why the Robot View works the way it does, see How the Robot View works.
Open Robot mode and start a new robot
- Open the Robot View window.
- Choose New robot to start with an empty scene. You will see a 3-D grid you can spin and zoom with your mouse.
A robot is made of parts (the shapes) held together by joints (the connections between shapes). You will build both.
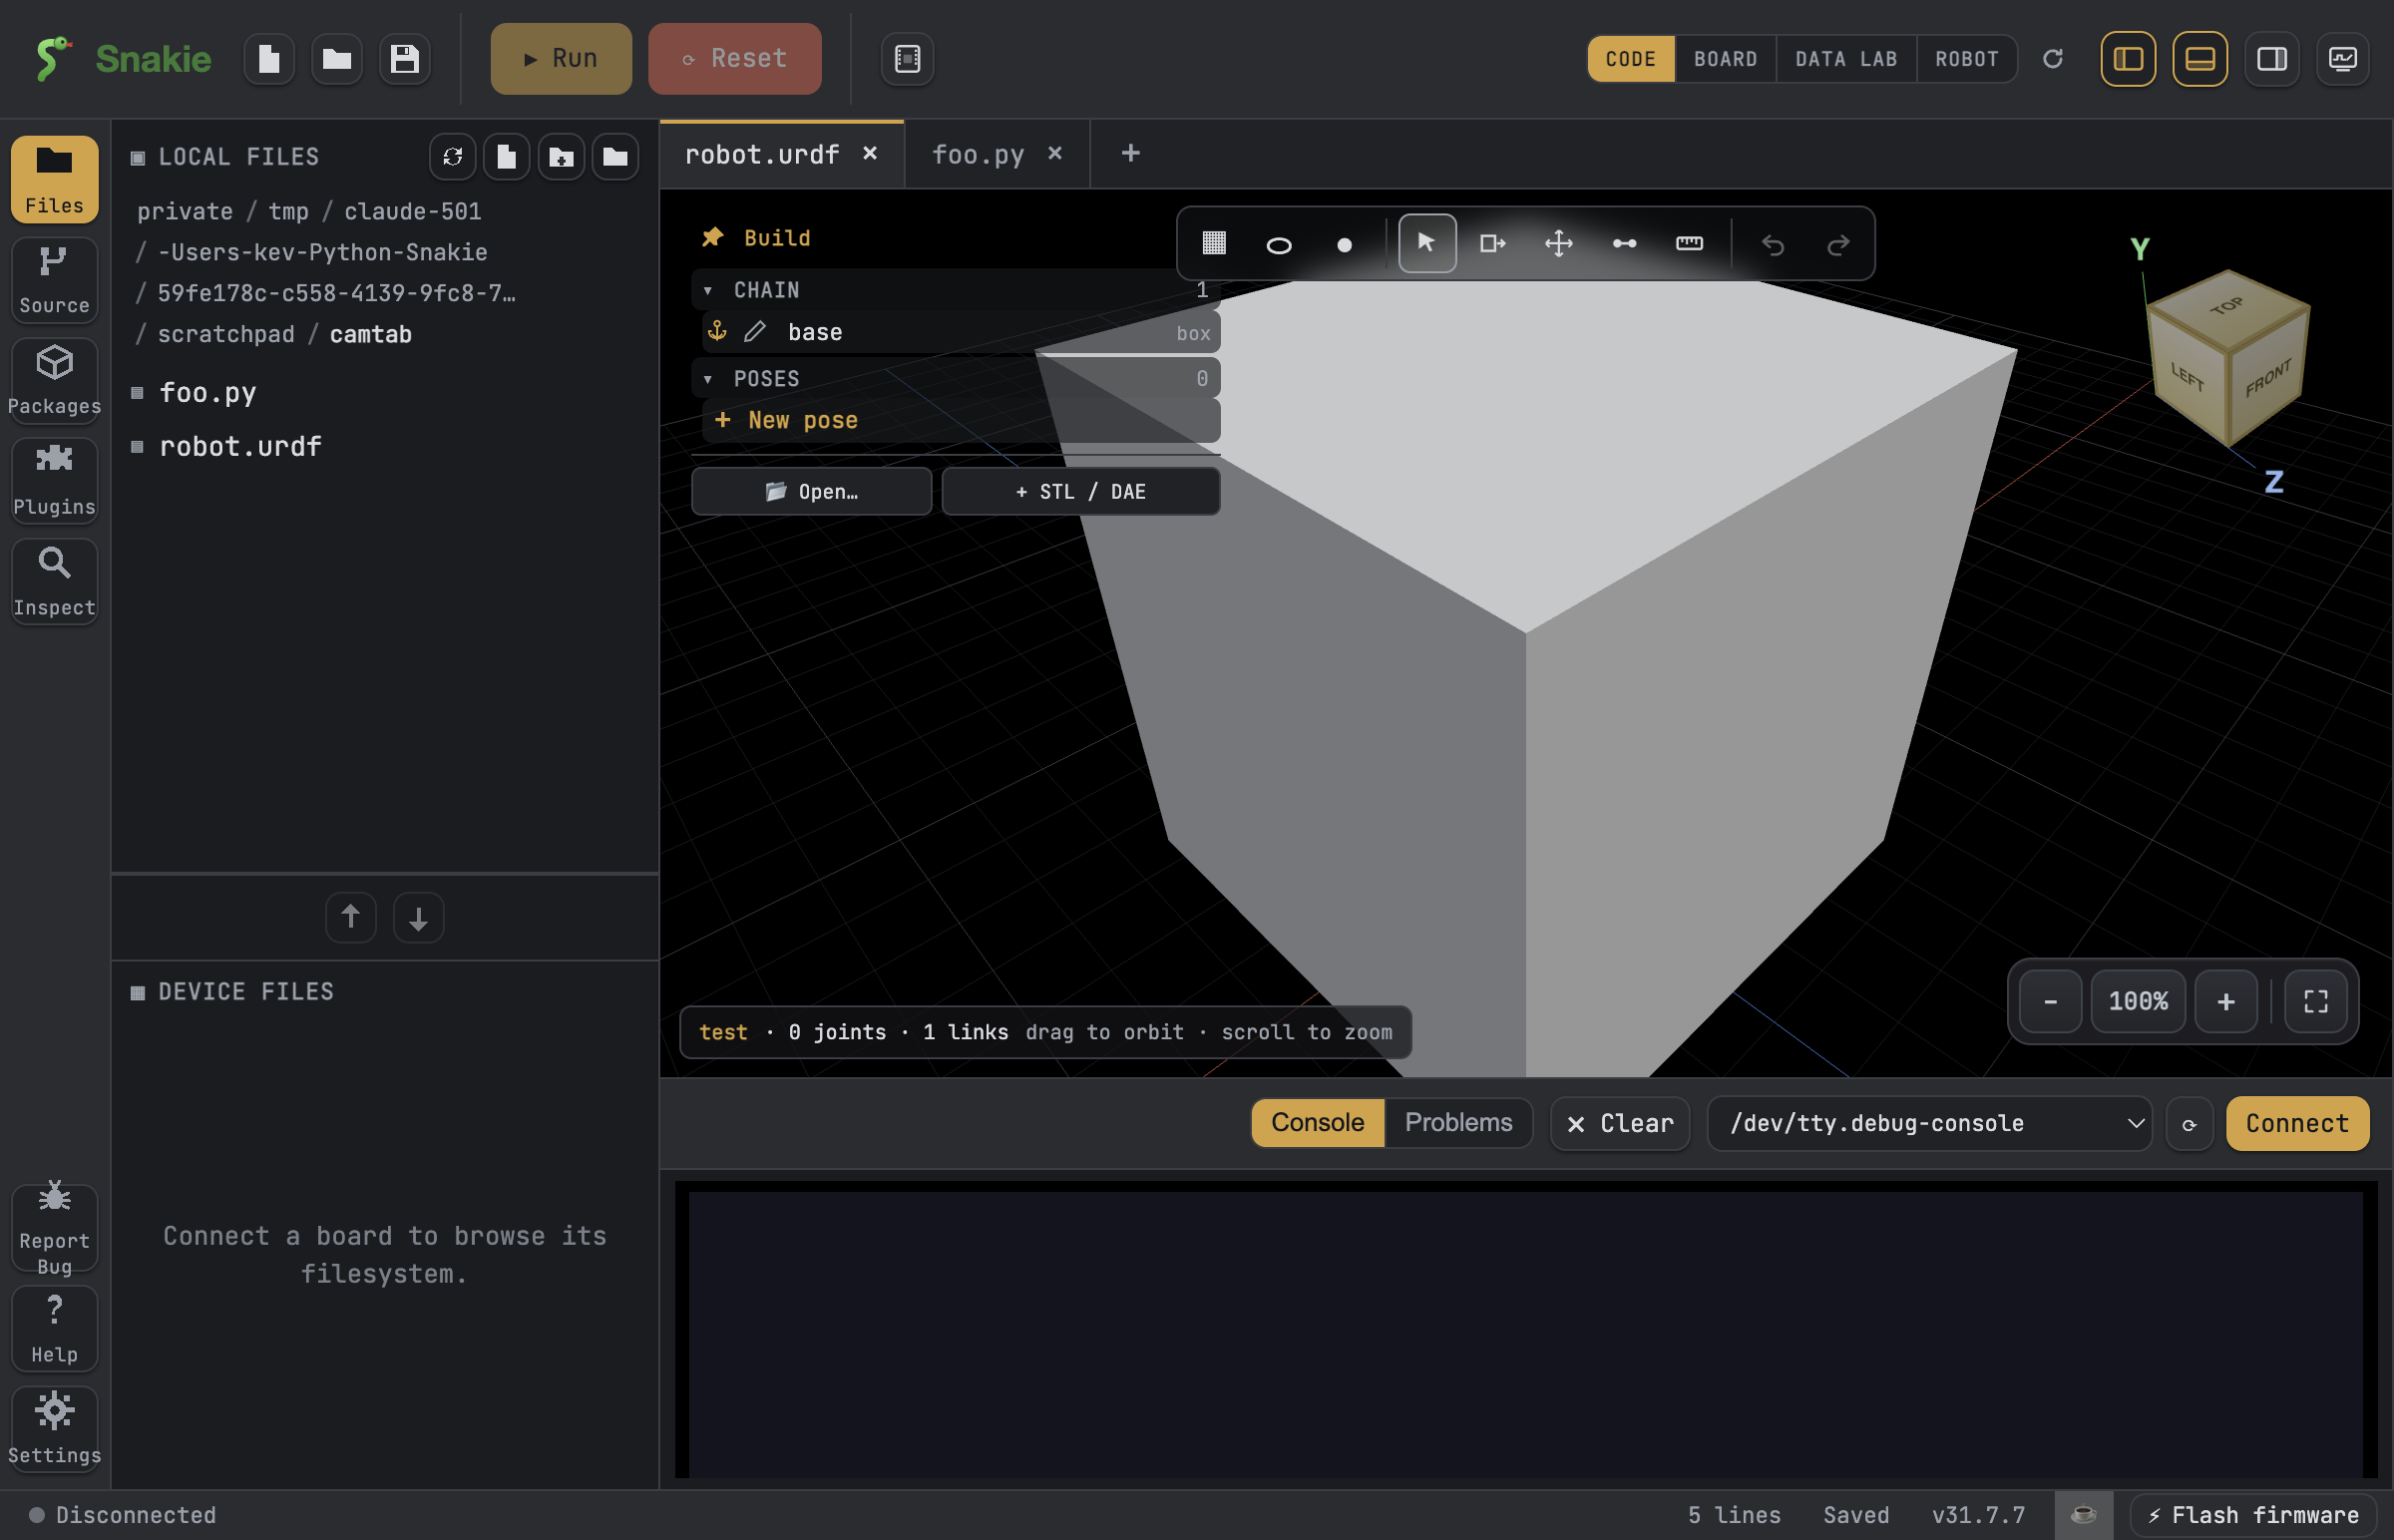
Add a shape
You can build from primitive blocks (basic shapes) or bring in your own model.
- To add a primitive, pick a block, cylinder, or sphere from the toolbar. A primitive is a plain, ready-made shape you can resize.
- To use your own model, import an STL mesh. An STL is a common 3-D model file, the kind you export from CAD or download for 3-D printing.
You can also drop in a part from your Parts Library that carries a 3-D mesh — it appears in the scene ready to join.
Colour a part
- Click a part to select it.
- Use the Color control to pick a colour.
This is just for looks, so make each part a colour that helps you tell them apart.
Join two parts with Add Joint
A joint connects two parts so they move together. The first part you pick is the parent and the second is the child (the child hangs off the parent).
- Choose Add Joint.
- Click a point on the first part. As your mouse moves, the point snaps to helpful spots: corners, edges, and hole centres. Snapping means it jumps to the exact spot so you do not have to be perfectly accurate.
- Click a point on the second part the same way.
- The two parts join at those points.
Lock a snap with Shift
Sometimes the spot you want — like a hole centre — sits over empty space, so the snap keeps jumping away. Hold SHIFT to lock the highlighted snap, then click. The point stays put even over a gap.
📸 Screenshot
Show: Add Joint mid-action, with a hole centre highlighted and a Shift-lock indicator.
Read the Chain view and re-parent
The Chain view is an indented list that shows the parent → child structure of your robot, so you can see what is attached to what.
- Read it top to bottom: each indented item is a child of the item above it.
- To move a part under a different parent, use its Attaches to dropdown and pick the new parent.
Break a joint to free a part
To detach a part without deleting the part itself, delete the joint, not the part. The part stays in your scene, now free to re-join somewhere else.
Delete the joint, not the part
Deleting the part removes the shape entirely. If you only want to disconnect it, delete the joint.
Pose the robot
Once parts are joined, you can move them:
- Select a joint or open its controls.
- Drag the joint sliders to bend, turn, or slide the child part.
You can save poses and preview a saved pose in the docked mini viewer, a small window that shows the robot in that pose without disturbing your main scene.
📸 Screenshot
Show: joint sliders posing an arm, with the docked mini viewer previewing a saved pose.
Make it move — servos and animation
Posing by hand is just the start. You can connect a real servo to a joint so a running program moves the model, chain poses into sequences and puppet controls, and test it all live from the Poses bench.
That all lives in its own guide: Bind servos and animate (Motion Studio).
Keep your robot self-contained
STL meshes referenced by a robot live in a meshes/ folder next to your project. When Snakie offers to copy meshes into the project, say yes — this keeps the models and the robot together, so nothing goes missing if you move or share the folder.
Your work is saved to a robot.yml project file. To learn what each field means, see the robot.yml reference.
Next steps
Ready to wire your robot's electronics? Head to Add and wire parts.