Build your first robot
Welcome to the 3‑D Robot View! In this tutorial you will make a tiny robot out of blocks, join the pieces together, and make it move. It is okay if it looks a bit rough — every robot starts somewhere, and yours is going to be great.
What you need
Just Snakie. You do not need a real robot or any parts plugged in for this. This is all on your screen.
What you will build
A very simple robot: two blocks joined together, where one block can swing like an arm. Along the way you will learn the main tools in the Robot View. When you finish, jump to the Robot View guide to go further.
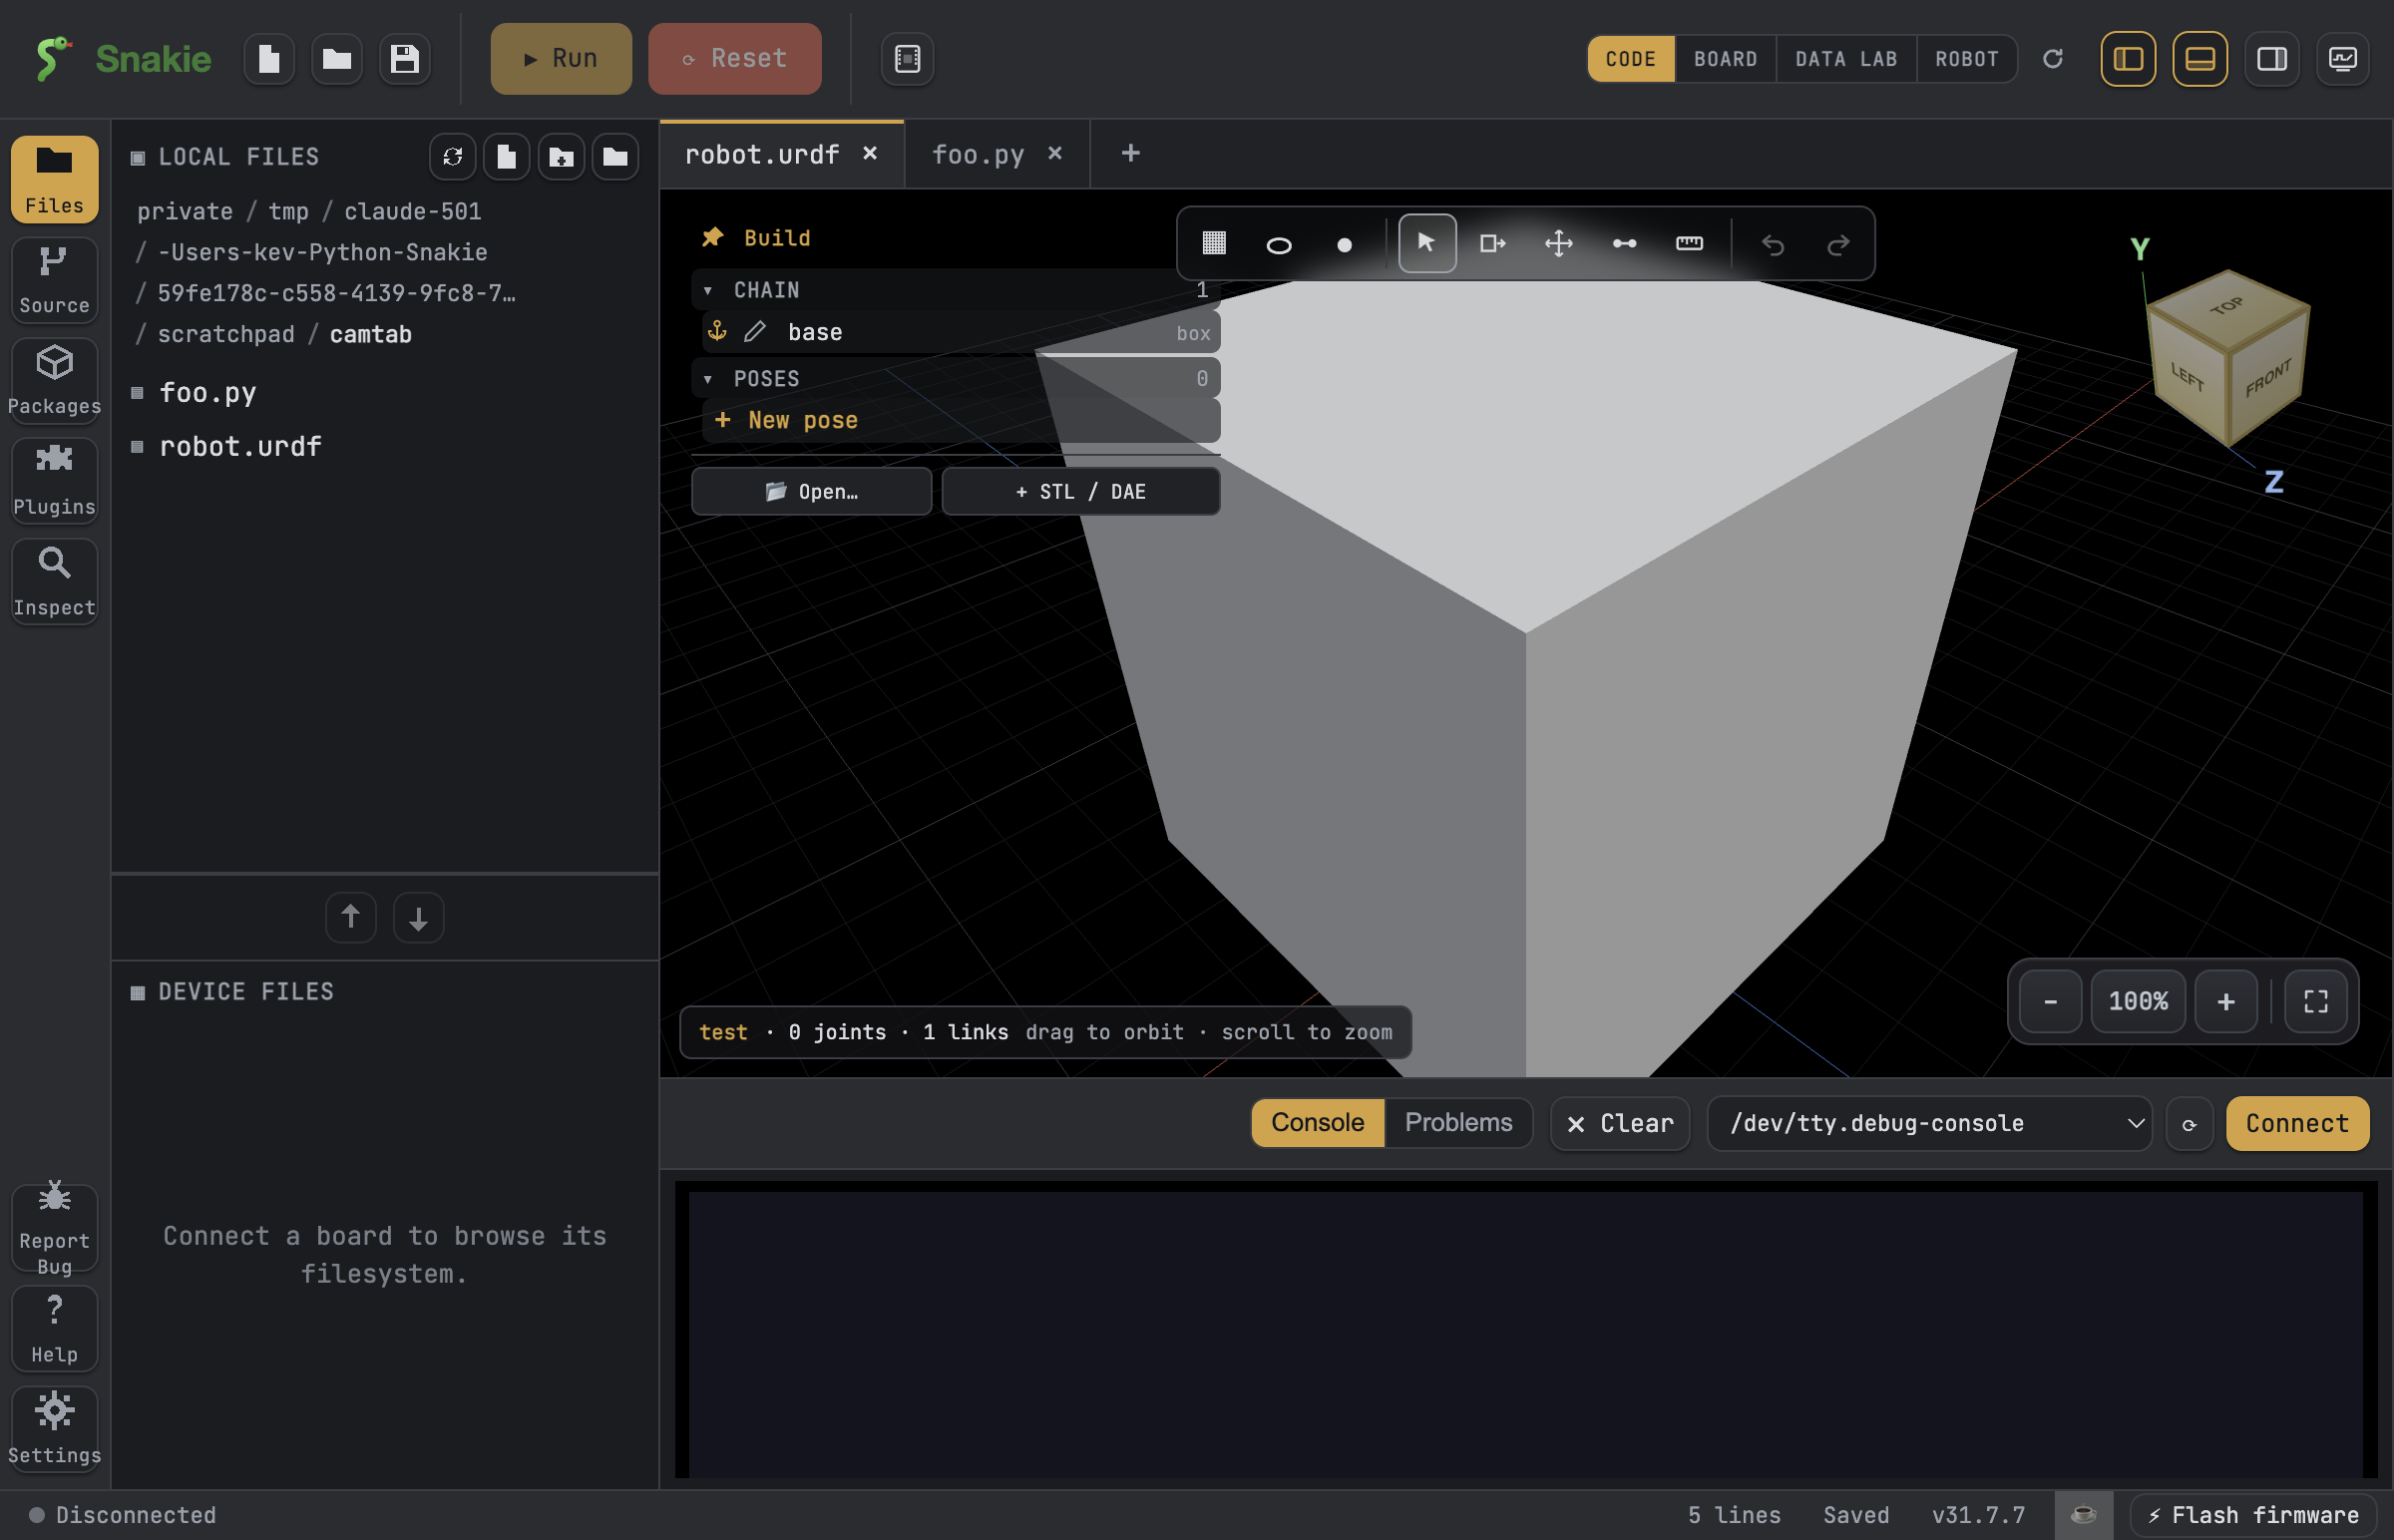
Step 1 — Open Robot mode
- Open Snakie.
- Switch to the Robot view. This opens a 3‑D space where you can spin the camera around to look at your robot from any side.
- Start a new robot. You now have an empty stage, ready for parts.
3‑D view
A 3‑D view means you can see your robot with depth — front, back, top and bottom — not just flat. Drag in the empty space to rotate the camera and have a look around.
Step 2 — Add two blocks
A primitive is a simple shape like a box or a cylinder. They are the easiest way to start.
- Add a primitive block. A box appears in the view.
- Add a second block next to the first one.
That is your robot body and arm. Two blocks is plenty for your first go.
Tip
If you already have a 3‑D model file (an STL, a common 3‑D shape file), you can import it instead of using a block. Blocks are simpler to start with, so try those first.
Step 3 — Colour a block
Let's make your robot easier to tell apart.
- Select one block.
- Give it a colour.
Now you can clearly see which block is which. Colour the arm a bright colour so it stands out.
Step 4 — Join the blocks with the Add Joint tool
A joint is the connection that lets one part move against another — like your elbow joins your arm.
- Pick the Add Joint tool.
- Move your mouse over the first block. Snakie highlights a snap point as you hover — a corner, an edge, or the centre of a hole. Click to choose it.
- Now hover over the second block and click a snap point there too.
The two blocks are now joined!
Snapping onto a hole
Want to snap exactly onto a hole centre? Hover until the hole snap lights up, then hold Shift to lock that snap in place. With it locked you can click the hole centre without the highlight jumping to a nearby edge.
Step 5 — Check the Chain view
The Chain view shows your robot as an indented list, like a family tree. It shows which part is the parent (the base) and which is the child (the part that hangs off it and moves).
- Find your two blocks listed there, one tucked under the other.
- If the parent and child are the wrong way round, you can re-parent a part using its "Attaches to" dropdown.
📸 Screenshot
Show: the Chain view panel with a parent block and a child block indented beneath it.
Step 6 — Pose your robot
Now the fun part: make it move.
- Find the pose sliders.
- Drag a slider slowly.
Watch your coloured block swing around the joint. That is your robot moving! Drag it back and forth and enjoy your creation.
You did it!
You built, joined and posed your first robot. Nicely done — it does not have to be pretty to be a real start.
Where to go next:
- Robot View guide — every tool explained, step by step.
- How the Robot View works — the ideas behind joints, chains and meshes.
- Add and wire parts — bring in library parts and connect them up.
- Build a physical robot with MicroPython on KevsRobots — continue from a 3-D model to motors, sensors and autonomous behaviour with a Raspberry Pi Pico.