Blink an LED
Welcome to your very first MicroPython program! In this tutorial you will make a light on your board blink on and off. It is the classic "hello world" of electronics, and by the end you will have written and run real code on real hardware.
What is MicroPython?
MicroPython is a small version of the Python programming language that runs on tiny computers called microcontrollers (the little brains inside your board). Want the full story? See What is MicroPython?.
What you need
- A MicroPython board, such as a Raspberry Pi Pico (a small, cheap microcontroller board).
- A USB cable to connect the board to your computer.
- Snakie open and ready.
New here?
If you have not connected a board before, follow Connect your board first, then come back. It takes only a minute.
Step 1: Open Snakie and connect your board
- Open Snakie.
- Plug your board into your computer with the USB cable.
- Connect to the board so Snakie can talk to it. (Full details are in Connect your board.)
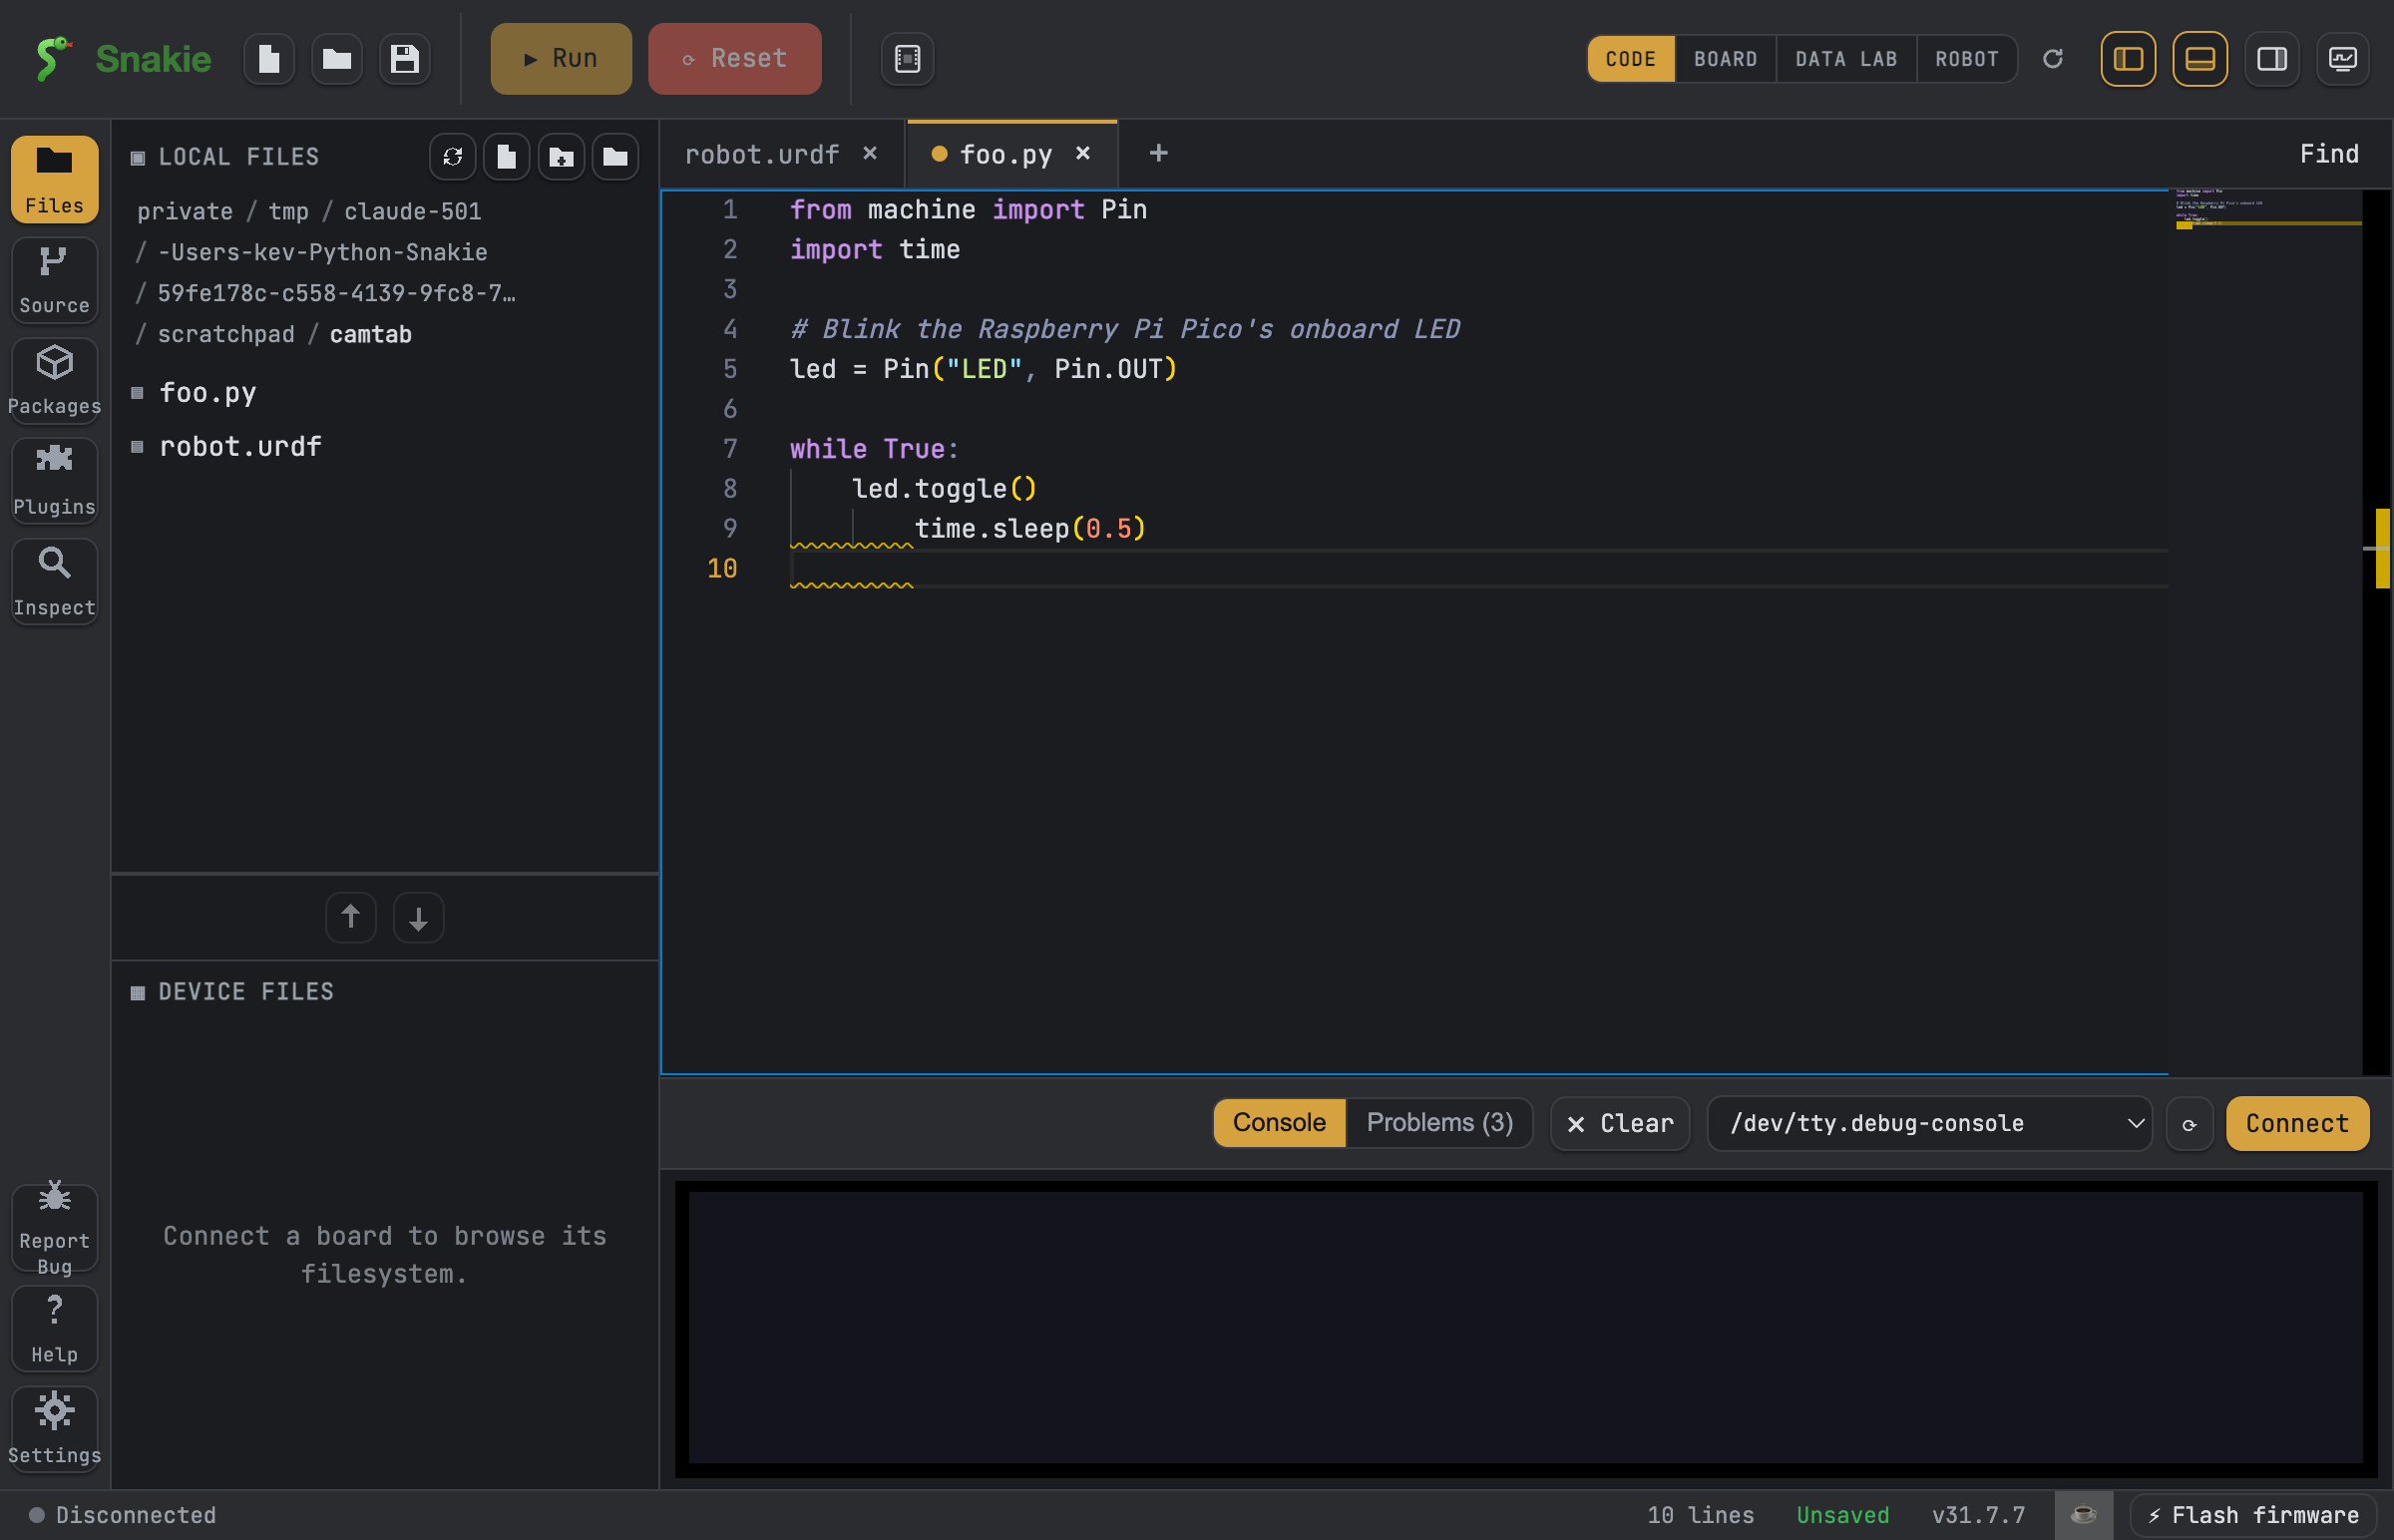
Step 2: Type the blink program
Open a new file and type in this short program. Try typing it yourself rather than copying and pasting; it helps you learn!
from machine import Pin
import time

led = Pin("LED", Pin.OUT)

while True:
    led.on()
    time.sleep(0.5)
    led.off()
    time.sleep(0.5)
What each line does
Let's read it together, line by line:
from machine import Pin— brings in the tool that lets you control a pin (a connection point on the board that can turn things on or off).import time— brings in the tool that lets you wait for a moment.led = Pin("LED", Pin.OUT)— points at the little LED built into the board and sets it as an output (something you switch on and off).ledis just a name we chose so we can talk to it.while True:— means "keep doing the following steps forever."led.on()— turns the light on.time.sleep(0.5)— waits for half a second (0.5 seconds).led.off()— turns the light off.time.sleep(0.5)— waits another half a second, then the loop starts again.
So the light turns on, waits, turns off, waits, and repeats. That is a blink!
Step 3: Press Run
Now for the fun part. Press Run to send your program to the board.
Watch your board carefully. The onboard LED should start blinking: on, off, on, off.
📸 Screenshot
Show: the blink code in the editor with the Run button highlighted, and the Pico's onboard LED lit.
You just wrote and ran a real program on real hardware. That is genuinely exciting. Well done!
Step 4: Press Stop
Your program runs forever, because of the while True: loop. To stop it, press Stop. The blinking will end.
Note
Learn more about starting and stopping your programs in Run and Stop.
Try a tweak
The best way to learn is to change something and see what happens. Try making the light blink faster.
Change both 0.5 numbers to 0.1:
Press Run again. The light should blink much faster! Now try 1 for a slow, calm blink. Experiment and find a speed you like.
Playing is learning
You cannot break anything by trying different numbers. If something goes wrong, just press Stop and try again.
What's next
You made an LED blink and you understand every line. Amazing start!
Next, let's see your board come to life on screen. In Board View you will watch Snakie draw your actual board and show your pins working in real time.